
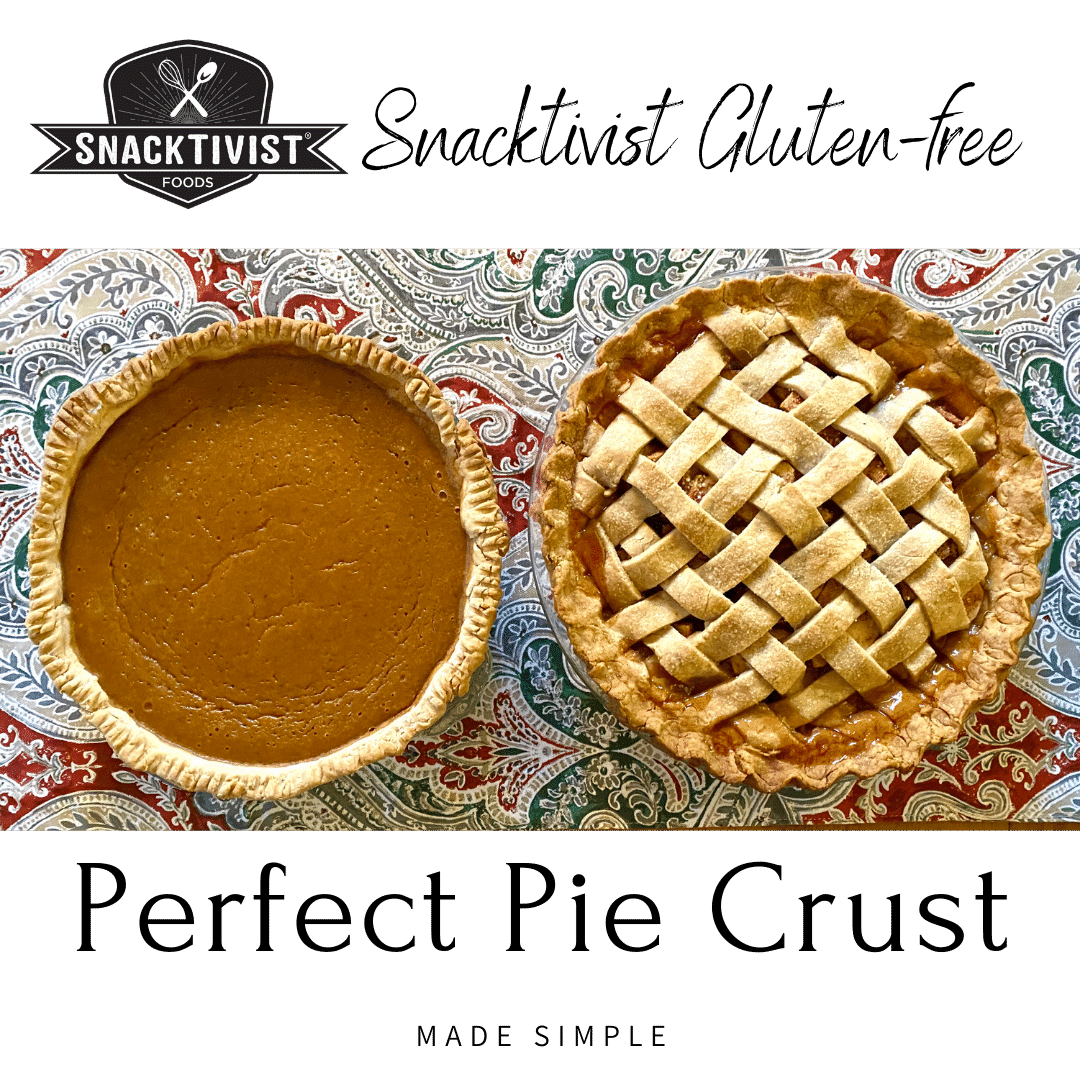
Perfect, Gluten-Free Pie Crust
Pie crust is just one of those things. There is a certain satisfaction when one can make it from scratch, know what is in it and make it with love.
This pie crust is gluten-free, egg-free and easily made dairy-free. It is also whole grain which gives it a lovely nutty flavor but also a great workability and texture.
It can be rolled or patted out and does not require any resting time in the refrigerator.
I always use a food processor with this recipe but oddly enough, I am 44 and I got my very first food processor when I was 38........ the irony right? So needless to say, we made many of these pies using a good old-fashion pastry cutter and manual mixing. It also works nicely.
My kids help me with this process and I get a certain sentimental rush when even the neighbor kids who are now becoming teenagers come over and tell me that they have great memories of making homemade pie in my crazy old, tiny kitchen. awe.......
Here is how I make it:
First, dough prep:
I place the 1 ⅓ cup of flour, salt and sugar into the food processor or mixing bowl.
I mix this well.
Now add in the 6 TBSP of cold butter 1 TBSP at a time using the "pulse" option or the pastry cutter.
It is ok to have small chunks of butter remaining in the dough.
Once all the butter is in, pulse a few more times so that the mixture is a course "crumb" and resembles wet sand.

Little chunks of butter may still be visable, that is ok.
Don't overwork the dough.
Measure out your 6 TBSP of cold water in a measuring cup.
Add 1-2 ice cubes to it so that it is truly ice cold.
Measure out your 6 TBSP of cold water in a measuring cup.
Add 1-2 ice cubes to it so that it is truly ice cold.
Measure out your 6 TBSP of cold water in a measuring cup.Add 1-2 ice cubes to it so that it is truly ice cold.
Now very slowly add in 3/4 of the ice cold water-vinegar mixture while hitting the "pulse button" or mixing using the pastry cutter.
DO NOT ADD THE ICE CUBES
You will see a ball forming. Add in the additional water if needed so that the dough becomes the consistency of "play-dough".
If there are still dry crumbs at the bottom of the bowl, you need the extra water.
If you feel like the dough is too wet, go ahead and add 1 more TBSP of flour.
Create the pie crust:
Remove your dough from the bowl.
You can now decide whether you want to roll it out or pat it out.

Rolling (option 1)
Place the dough onto a lightly floured, large piece of parchment paper.
Using a rolling pin, roll the crust out until the crust is thin and uniform.
It will make a rectangle approximately 14 by 16 inches.
Gently, place your pie crust upside-down onto the rolled out crust.
Using a paring knife, cut a circle in the crust that allows for a 3 inch gap between the edge of the crust and the edge of the pan.

Pull the excess crust away and form another ball.
Allow your hand to slid under the parchment paper so that you can now flip your pie pan over with the pie crust against it.
Yay you did it, now you can fix any little cracks and shape the edges to your desired style.
Remember, playdough!
Fold over the crust around the edges and work them to the desired shape.
You can use your fingers or just lightly press with a fork like my Grandma used to do. It makes for nice and quick pie crust edging.

You will have left over pie crust, a ball the size of a golf or pool ball. Set aside.
Pressing (option 2)
If you don't want to roll out the crust, no problem, you can just use your fingers to press the dough into the pan.
Taking your pie crust, flatten it out into a disc shape then start pressing it flat starting at the center of the pie pan. 
You will want to press it so that it is all a uniformed thickness.
You will have left over crust, a ball about the size of a pool ball or golf ball. Set aside.
Leftover pie crust:
You can use the leftover pie crust to roll out and make strips for lattice work or to cut out little designs for the edges of your crust or other decorative things.

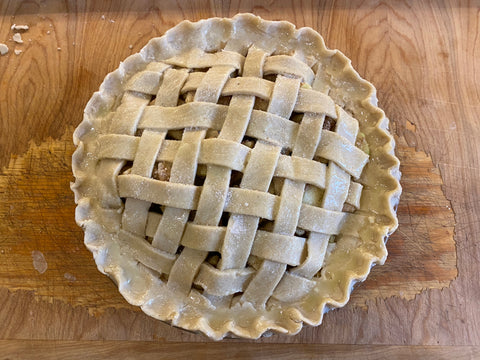
I used melted butter and sugar to make this crust brown beautifully! You can also use an egg wash.
My kids use the leftover to line a little ramkin and pour in fruit for a mini pie or egg to make a mini quiche.
Now you are ready to put in your pie filling!
Enjoy~